As an Amazon Associate, we earn from qualifying purchases. Some links on this site are affiliate links at no extra cost to you. Our recommendations are based on thorough research and editorial judgment.
How to Create a Photography Guide of Your Palm Collection
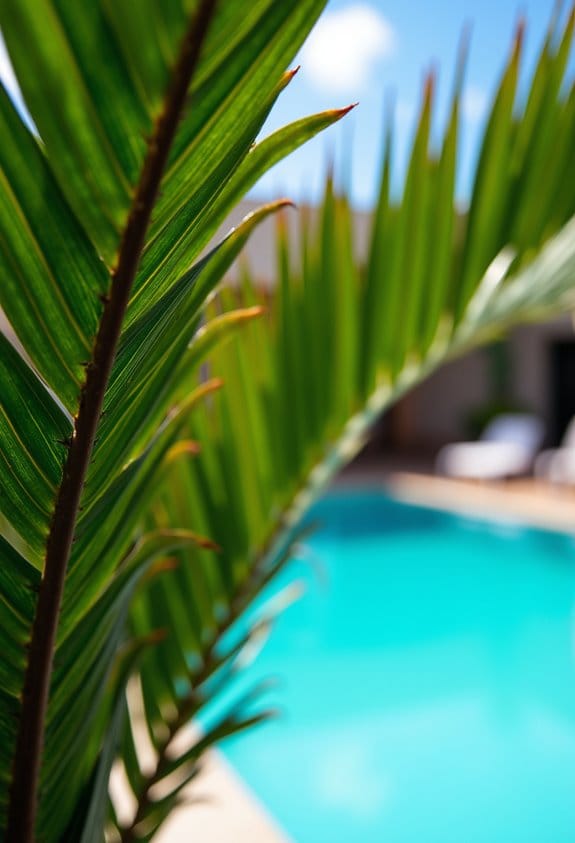
To create a photography guide of a palm collection, first organize palms by species and height to highlight scale and diversity effectively. Use a DSLR with a 60-105mm macro lens and tripod for sharp, detailed images. Capture during golden hour or diffuse midday light with LED softboxes at 5,500K indoors. Emphasize unique traits like leaf morphology and trunk thickness with varied angles, including wide shots and close-ups. Informative captions should include botanical names, habitats, and care tips. Further steps reveal expert techniques for professional presentation.
Key Takeaways
- Organize palms by species and size to showcase diversity and create balanced photographic compositions.
- Use DSLR or mirrorless cameras with macro lenses and tripods for sharp, detailed palm images.
- Shoot during golden hour or use diffused lighting to highlight textures and reduce harsh shadows.
- Capture varied angles, including overhead, low, and close-up shots, to emphasize unique palm features.
- Add informative captions with botanical names, care tips, and habitat details to enrich the photography guide.
Organize Your Palm Collection for Photography
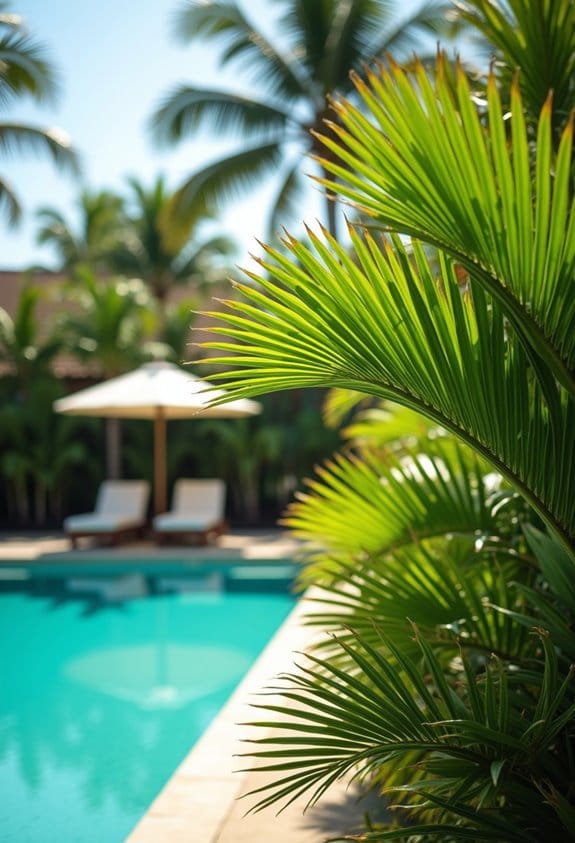
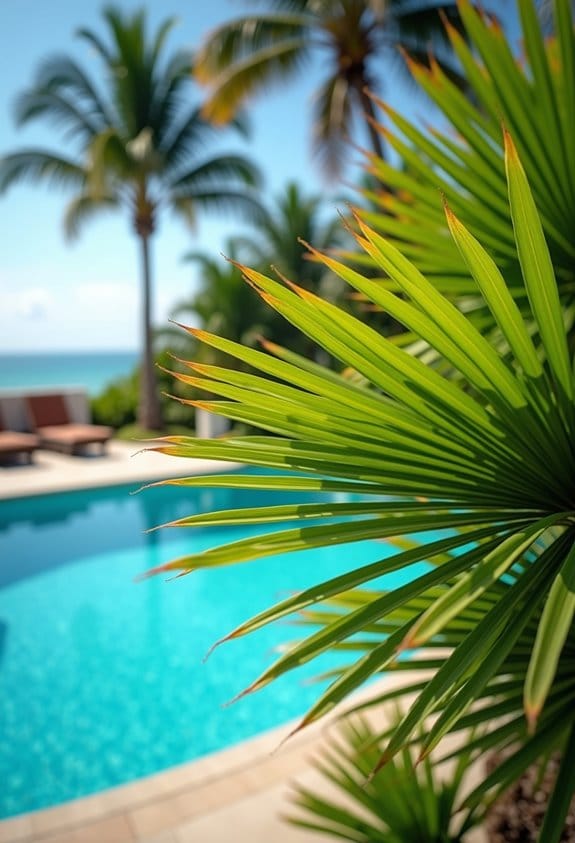
When organizing a palm collection for photography, it is essential to categorize each specimen by species, size, or growth habit to establish a clear and visually engaging layout. The best to use method involves grouping palms by height—from dwarf species under 2 feet to towering varieties exceeding 15 feet—highlighting contrast and scale effectively. Labeling each plant with species names and care details enhances viewer understanding and adds informative value within the image. Organize specimens so larger palms serve as focal points while smaller ones create balance and depth, generating greater visual interest. Cleaning and maintaining palms prior to shooting maximizes their appeal, ensuring leaves are free from dust or damage, which best showcases the plants’ health. Including USDA zones information can also help viewers appreciate the environmental conditions suited for each palm variety. This approach creates a precise, organized presentation that facilitates both aesthetic impact and educational content.
Recommended Products

QUALITY MIDWEIGHT BASELAYER: 100% Merino Wool is super soft and extremely comfortable. Versatility and warmth make this three-season merino wool mock-neck thermal an essential part of your outdoor gear. ENVIRONMENTALLY FRIENDLY: The best in easy care technology means your merino wool is machine washable and dryable. Our 100% Merino Wool is a renewable fabric. Its moisture-wicking properties mean you won't have to wash it as often so you'll use even less water.

100-Pack LARGE metal plant labels - Made of galvanized steel - Zinc name plate - Durable and long-lasting

MADE WITH ORGANIC OILS & CERTIFIED FAIR TRADE INGREDIENTS: Dr. Bronner's Pure-Castile Liquid Soaps are made with over 70% certified organic & fair trade ingredients, promoting healthy communities, ethical working conditions & fair prices.
Select the Right Equipment for Plant Photography
Selecting appropriate photographic equipment is essential for capturing the intricate details of palm leaves and their unique textures, which are best rendered by a DSLR or mirrorless camera equipped with a macro lens. Make sure to use a tripod to stabilize your camera, enabling sharp images even with slower shutter speeds around your home. A polarizing filter is recommended to reduce glare on shiny leaf surfaces without sacrificing color accuracy or detail. While smartphones may suffice for casual shots, dedicated cameras offer greater control over focus and depth of field. Additional lenses with focal lengths between 60mm and 105mm are ideal for detailed close-ups, allowing photographers to maintain a comfortable distance. By selecting the right equipment, one can consistently produce vibrant, finely detailed images that showcase the true beauty of palm foliage. Incorporating UV-resistant artificial palm leaves as subjects can enhance the realism and durability of your photography setups.
Recommended Products

Focal length: XF100-400mm (152-609mm - 35mm Format Equivalent)

70-200mm telephoto zoom lens with f/4 maximum aperture for Canon SLR cameras

This Certified Refurbished product is tested and certified to look and work like new. The refurbishing process includes functionality testing, basic cleaning, inspection, and repackaging. The product ships with all relevant accessories, a minimum 90-day warranty, and may arrive in a generic box. Only select sellers who maintain a high performance bar may offer Certified Refurbished products on Amazon.com
Choose Optimal Lighting Conditions
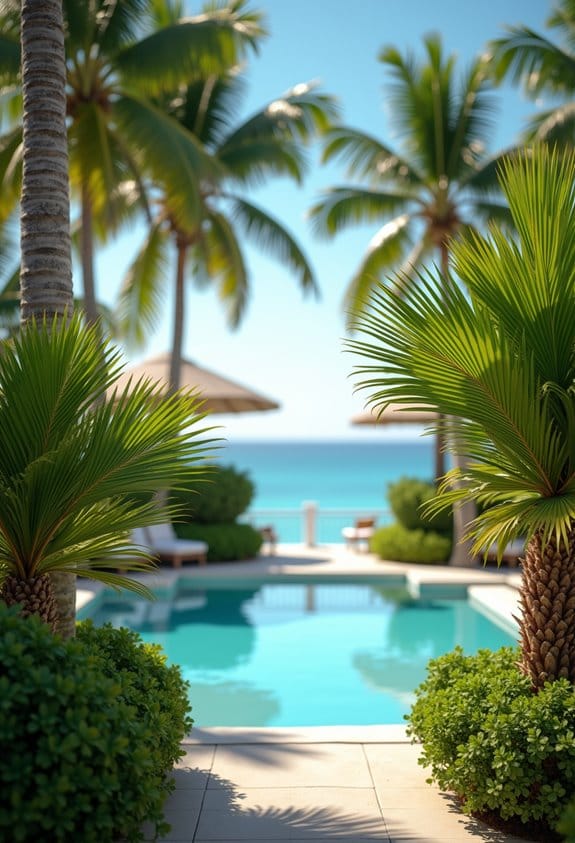
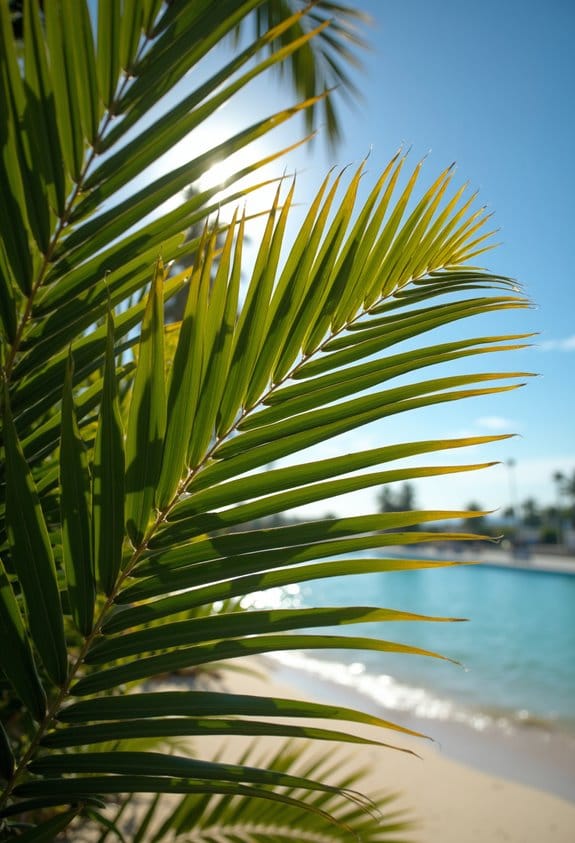
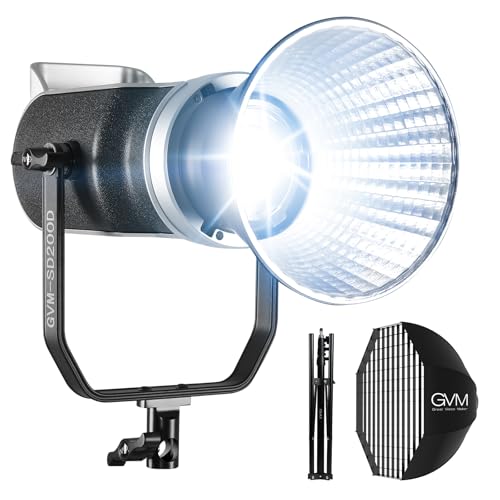
Three ideal lighting scenarios for photographing palm collections maximize detail and color accuracy, focusing on natural light sources during the golden hour, shortly after sunrise or before sunset. I’ve never found a better time to capture the soft, warm tones that highlight palm fronds without harsh shadows. Avoid direct midday sunlight, which often causes overexposure and sharp contrasts; instead, shoot under a shaded canopy or use sheer curtains to diffuse light evenly across leaves. Consider side lighting to emphasize texture and depth or front lighting for balanced illumination. Using reflectors can reduce unwanted shadows and enhance vibrancy. Indoors, place palms near large windows offering indirect sunlight; when this isn’t sufficient, LED softbox lights set at 5,500K replicate daylight while maintaining natural color balance. For enhancing the ambiance in your palm photography setting, using adjustable brightness levels in artificial lighting can create inviting and balanced illumination.
Recommended Products
![ZHIYUN MOLUS X100 Bi-Color Pro 100W Video Light [Official] V2 Upgraded Version Professional Photography Lighting Portable Continuous Output Lighting 2700K~6500K CRI≥95 TLCI≥97 for Youtuber TT Photog](https://m.media-amazon.com/images/I/41zLzuT0dFL._SL500_.jpg)
【100W Bi-Color Video Light】MOLUS X100 packs a powerful 100W continuous output lighting with advanced optics delivering ultra-bright yet flicker-free illumination. It ensures accurate color reproduction with a 2700K-6500K color range, CRI≥95, and TLCI≥97. Features include music sync mode and 18 built-in FX for creative lighting.

With 60cm Soft Box (Special Design for SL60W)
【Powerful LED Bead 】200W LED bead creates stable light resource and even illuminance to guarantee high light brightness. With CRI 97+, 93000lux/0.5m, 64600lux/1m, 3200K to 5600K bi-color temperature, and brightness from 10% to 100%, it can present the object as authentically as possible.
Capture Different Angles and Details
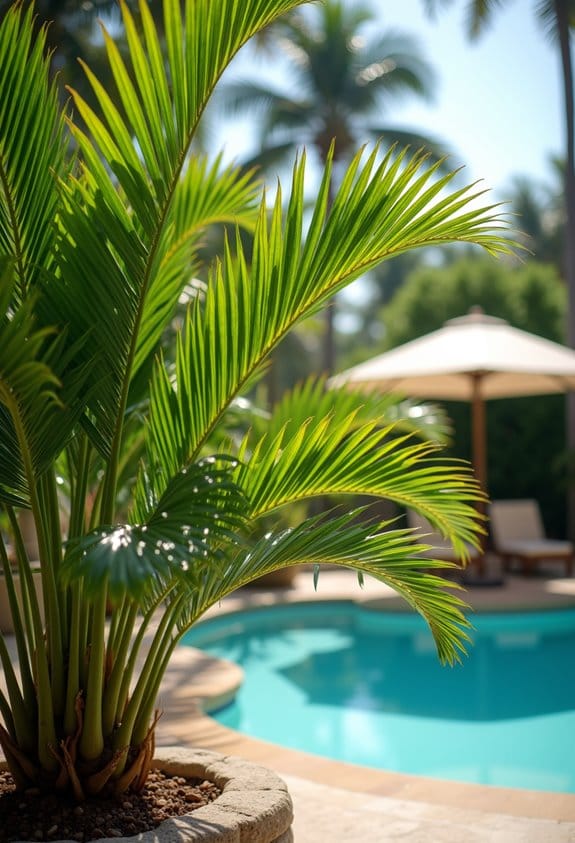
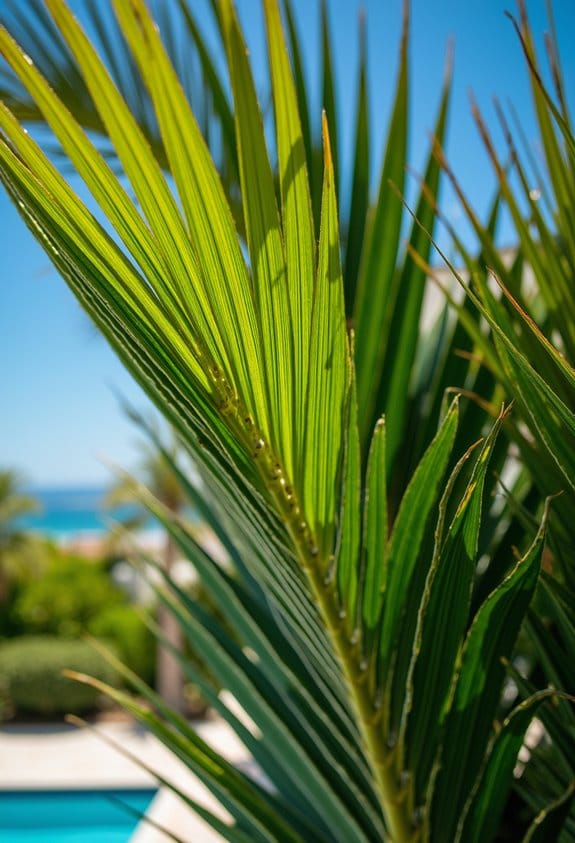
Numerous photographic angles contribute to an extensive visual record of palm collections, revealing diverse structural and textural elements. Employing angle variations, photographers capture overhead shots to display full palm leaf spreads, emphasizing shapes and colors from a bird’s eye view. Low-angle shots accentuate palm height effectively, offering dynamic perspective play to showcase grandeur. Detail focus is critical; macro photography reveals intricate frond textures and patterns otherwise unseen. Close-ups of palm bases and roots illuminate growth and anchorage. By combining wide landscape shots with intimate close-ups, the collection gains contextual depth, situating palms within their environment. This varied approach guarantees a precise, multidimensional photographic guide that documents both macro and micro features, essential for thorough visual analysis and appreciation of palm characteristics. Incorporating solar palm tree pathway lights can enhance nighttime photography by providing warm, 360-degree illumination that highlights palm details effectively.
Recommended Products

【Spotlight Projector Attachment】The optical snoot allows for light to be more gathered and is equipped with a 40° professional projection lens for a much brighter light compared to the bare light. Different light effects are realized by adjusting the focus, the light can be adjusted between blur and sharp, and the image clarity can be adjusted by adjusting the focus fixing knob to stretch the imaging lens forward or backward. It can give you a better projection of light.

20.0 Megapixel sensor and Canon DIGIC 4+ Image Processor
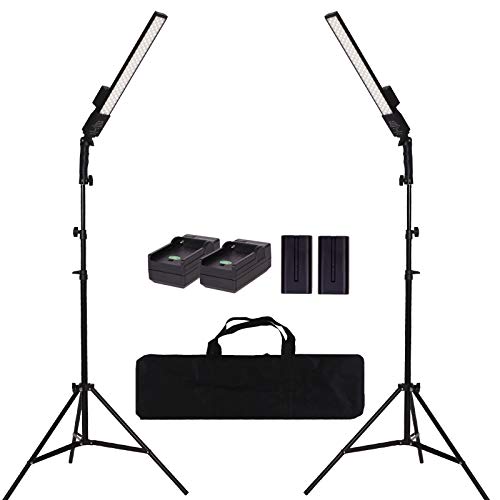
【High Quality LED Beads】High-luminance SMD LED beads ,come with 192 pcs LED beads ,can last up to 50,000 hours.Steady color temperature and low loss.Even lighting, no shadows.【Portable Handheld Light Wand】Unique long strip light design,the fill light range is larger.Light body is very thin, thickness is only 0.59 inch.Portable and lightweight.You can use by handheld to offer more creative light effect.
Highlight Palm Species Characteristics
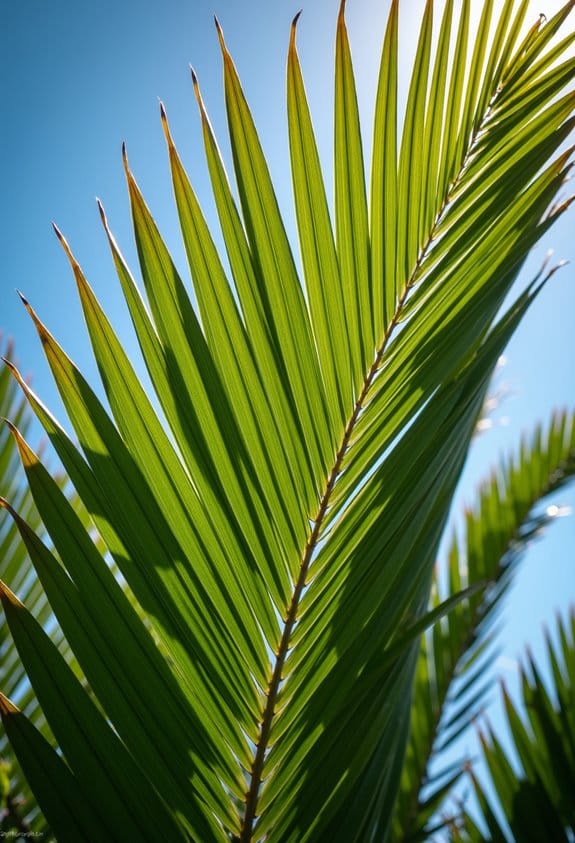
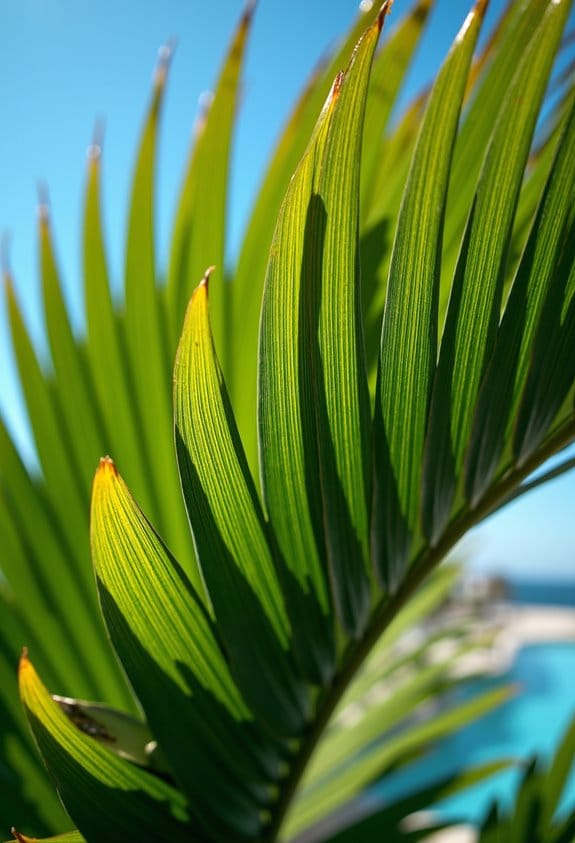
Although palms belong to a vast family with over 2,600 species, each exhibits distinct characteristics essential for accurate identification and documentation. Species diversity among palms ranges from the small Dwarf Pygmy Date Palm with its dense, compact growth to the towering California Fan Palm which reaches up to 75 feet, notable for its resilient, fan-shaped leaves. Leaf morphology varies considerably, including feather-like fronds typical of the Sago Palm and the elegant pinnate leaves of the Queen Palm, which grows up to 50 feet and adapts well to diverse climates. Trunk characteristics also differ; some species have slender, smooth trunks while others develop thick, textured bases suited for desert survival. Highlighting these unique traits guarantees clear differentiation and enriches any photographic palm collection guide. Artificial palm trees also offer realism and lifelike appearance to complement botanical photography by mimicking vivid colors and detailed fronds.
Style Your Photos With Suitable Backgrounds and Props
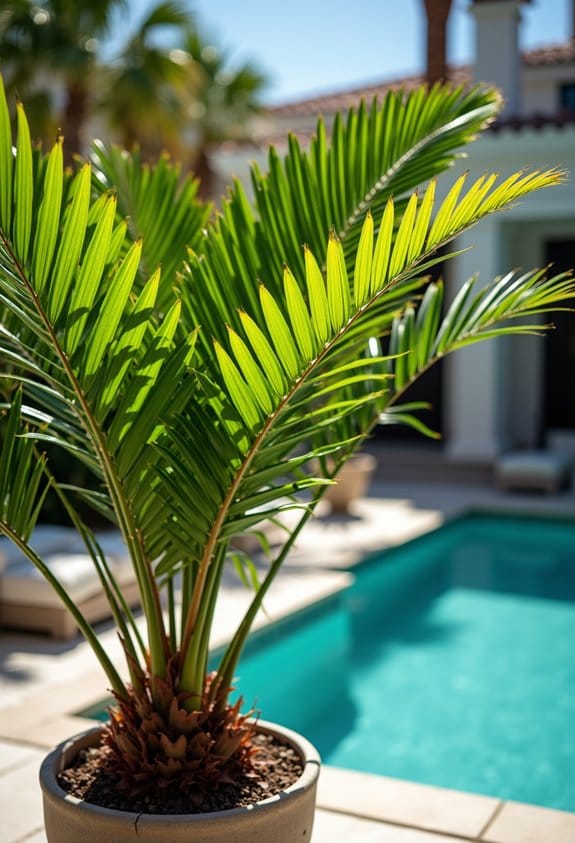
Effective styling of palm photographs begins with selecting backgrounds that enhance the plants’ natural hues and textures, such as earthy browns, mossy greens, or sun-bleached sandy tones. Background selection should favor textured surfaces like driftwood or muted fabric, evoking a tropical ambiance without overshadowing the palms. Prop choices play an essential role; terracotta pots between 6-12 inches in diameter or natural stones sized proportionally to the palm’s height emphasize scale and authenticity. Color coordination between props and backgrounds is imperative to maintain visual harmony—avoid overly bright or clashing elements. Layering materials up to 12 inches deep behind the palm can create subtle depth, drawing focus to the fronds. Overall, careful balance in background selection, prop choices, and color coordination enriches the image while highlighting the palm’s unique morphology. Additionally, considering material durability when choosing props can ensure that decorative elements maintain their appearance throughout multiple photoshoots or events.
Recommended Products

7-PC BEDDING SET INCLUDES: King Comforter, Bedskirt, 2 King Shams, Square Pillow, Round Pillow, and Rectangle Pillow

This Casual Nautical Tropical pattern features a Decorative detailed Graphic coral Border in a perfectly natural Transitional Global design

[DURABLE QUALITY HANDMADE CONSTRUCTION]: Hand-tufted by skilled artisans for a truly unique textured look and feel
Edit and Enhance Your Palm Images
Begin by utilizing advanced editing software such as Lightroom or Photoshop to adjust brightness levels between 30-70%, enhancing the rich green hues and intricate textures typical of palm fronds. Employ post processing techniques to fine-tune contrast and saturation, ensuring vibrant color enhancement without losing natural detail. Use cropping tools to eliminate distracting background elements and emphasize the unique shapes and vein patterns of leaves. Apply selective editing with brush tools to sharpen frond edges while subtly softening backgrounds, boosting image consistency across the collection. Experiment with filters or presets that maintain a uniform aesthetic and mood throughout your palm images. Finally, save outputs in high-resolution formats for prints and optimized sizes for online platforms, preserving clarity and quality under various viewing conditions. Additionally, consider the UV-resistant materials used in some artificial palm trees to ensure your photos reflect their vivid colors and realistic textures over time.
Create Informative Captions and Descriptions
When creating informative captions and descriptions for a palm photography guide, including the botanical names of each species establishes scientific accuracy and enriches the educational value. Caption creativity enhances engagement by using descriptive language to detail native habitats, such as tropical coastal regions or arid inland areas, clarifying environmental needs. Each caption should include specific care tips like ideal light levels (e.g., partial shade), watering schedules (every 7–10 days), and preferred soil pH (6.0–7.0). Incorporating engaging trivia, such as historical uses or unique growth patterns, adds depth and interest. Combining concise scientific facts with vivid, relatable observations guarantees the guide delivers clear, precise knowledge. This approach helps readers appreciate both the aesthetic qualities and practical cultivation requirements of palms in the collection. Additionally, highlighting energy-efficient lighting options like LED technology can help emphasize sustainable care and display practices in outdoor palm collections.
Format Your Photography Guide for Sharing
Although individual preferences vary, selecting a digital format such as a PDF or online blog vastly improves accessibility and distribution for a palm photography guide. Well-structured digital layouts, featuring clear sections divided by palm types, care instructions, or geographic zones, enhance navigation and audience engagement. High-quality images, sized around 1200 pixels wide for sharp detail, should be embedded with informative captions describing unique features and care tips. Utilize sharing platforms like social media, specialized forums, or cloud services to reach enthusiasts efficiently. Opt for minimalist design with ample white space, around 20-point margins, to highlight photographs without distractions. Consistent formatting and device-responsive layouts guarantee readability on screens of various sizes, from tablets to desktops, maximizing the guide’s educational and inspirational impact among palm collectors and horticulture audiences. Including information on drainage holes for proper plant health in planters can further enrich your guide’s practical value.
Frequently Asked Questions
What Is the 20 60 20 Rule in Photography?
The 20 60 20 rule in photography allocates focus into two tone balance, emphasizing 20% standout images, 60% average work, and 20% experimental shots, enhancing subject emphasis and showcasing varied lighting techniques.
What Are the 5 C’s of Photography?
The five C’s of photography—camera, composition, creativity, capturing emotions, and concepts—serve as a photographer’s compass, guiding mastery of camera settings, lighting techniques, and composition tips to craft images that captivate and evoke profound responses.
How Do I Create My Own Photography Portfolio?
To create a photography portfolio, one should select cohesive images, apply advanced editing techniques, consider equipment recommendations for quality, and explore portfolio layout ideas that enhance visual storytelling while ensuring easy navigation and professional presentation.
What Is the 3:1 Rule in Photography?
The 3:1 composition techniques dictate placing the background three times farther than the subject is from the camera, enhancing focus. Combined with lighting balance principles and photo editing tips, this approach refines depth and clarity in images.